How to Turn a Hand Sketch into a Render with AI
From a rough sketch to a presentation-ready render — the fast way, with your design intent as the starting point.
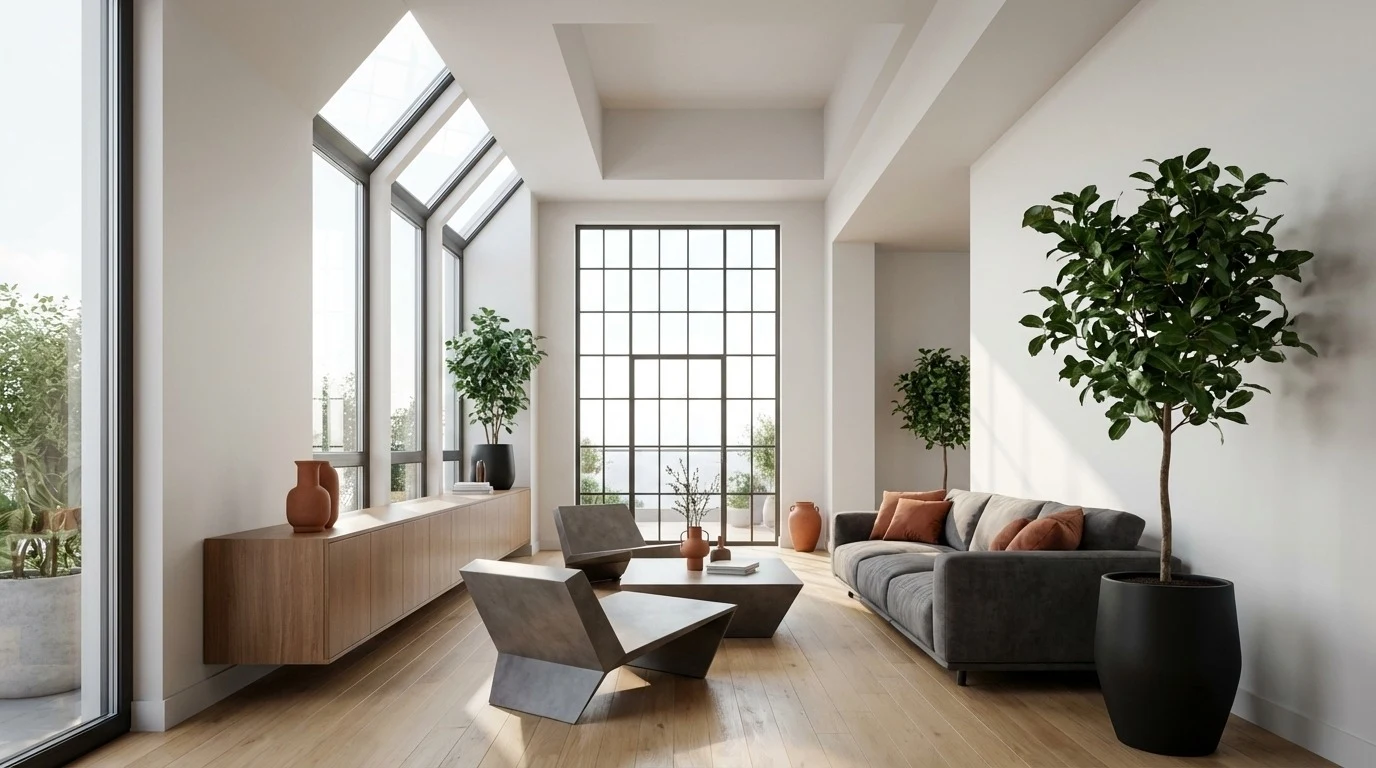
For decades, turning a concept sketch into a photorealistic image meant hours in a 3D modelling and rendering pipeline. AI has collapsed that into seconds. But there's a catch most tools ignore: a render is only useful to an architect if it stays true to the design. Here's how to go from sketch to render with AI — and how to make sure the result is something you can actually present and discuss.
Step 1 — Start with a clear sketch
You don't need a polished drawing. A perspective sketch or a clear concept drawing gives you a useful starting point. The clearer your lines and the more legible your spatial intent (walls, openings, key furniture), the more faithful the render will be.
Step 2 — Upload it to an AI rendering tool
Upload your image to an AI sketch-to-render tool. Most accept common formats — JPEG, PNG, WebP, HEIC (iPhone photos) and PDF. A clear input image makes your design intent easier to communicate.
Step 3 — Set style, materials and lighting
This is where you direct the result: choose a material palette (light oak, polished concrete, white render), a mood, and a lighting setup (warm interior, bright daylight, golden hour). Describing the space in a sentence or two helps the model match your intent rather than inventing its own.
Step 4 — Generate, then refine
Generate the render — it should take seconds. Then iterate: adjust the prompt, swap materials, change the time of day, or generate variations to compare. When you're happy, export a high-resolution image for your presentation or pitch.
Step 5 — Review your result
Compare the image with your original sketch. Check the main forms, openings and visual details. Refine your prompt when you want a different direction, and select the render that best communicates your concept.
Try It on Your Own Sketch
Upload a sketch and get a photorealistic render in seconds.